Are you planning to install a new range hood in your kitchen? Want to save some bucks and do it yourself? Here’s how you can do within a few hours.
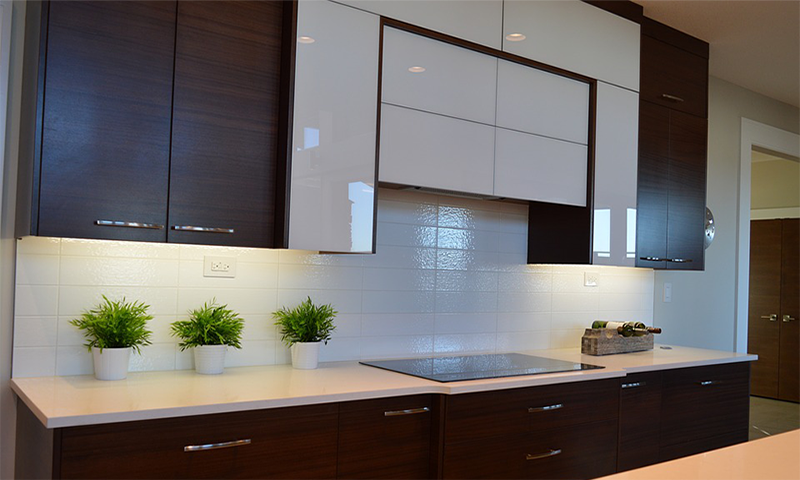
A range hood is a piece of efficient kitchen equipment which helps in removing the smoke, heat, and odor produced from a stove with the use of a filter and an internal fan. Although a lot of people purchase a range hood along with a stove, many people choose to buy them separately to match their kitchen décor.
You might think that installing a range hood must be a complicated task and will require the assistance of a professional but this is actually untrue. You can easily install your own range hood, all you need is the right tools to accomplish this task.
We bring this installation guide to help you out in installing your own range hood in just a single day without any professional help.
Materials You Will Need
- Goggles
- Dust Mask
- Range hood
- Handsaw
- Drill
- Hammer
- Screwdriver
- Measuring Tape
- Mounting Screws
- Long Drill Bits
The Pre-Installation Checklist
Once you have all the required materials in place and have followed all the safety tips, you can go ahead with the installation of the range hood. Just follow these below steps and you will be able to smoothly install your product in no time at all.
You need to first prepare your kitchen to install the range hood and will need to follow the below steps to do that:
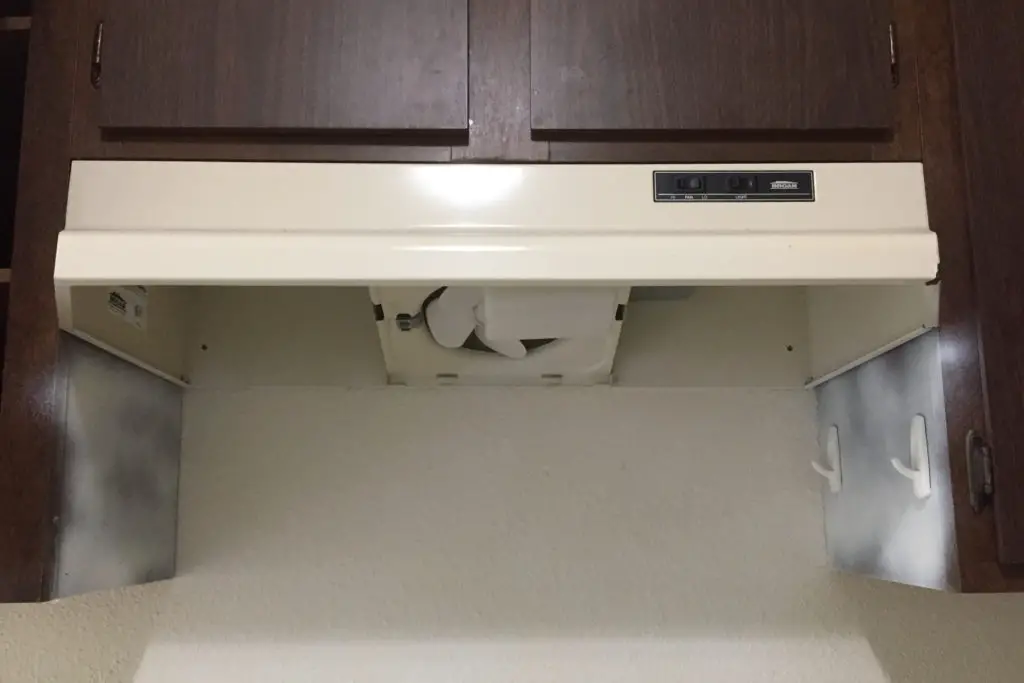
Tick 1: Remove the Existing Range Hood
If you are installing a new range hood and are not actually replacing an existing one, then you can skip this step. However, if you actually replacing your old range hood with a new model then you would first need to get rid of the existing hood.
You will need to disassemble the wiring near the light fixture by removing the wire nuts and the connections. Then, you need to unscrew the nut which keeps the hood fixed in its place for which you would need the help of another person. After that, gently lift the hood and remove the screws.
Tick 2: Buy the Right Range Hood
Another important step would be to purchase the best range hood, one which matches your needs and fits perfectly in your kitchen. While looking for a range hood, ensure that you choose a product that will cover properly the stove and will be placed at least 24 inches above the stovetop.
Also, try to buy a range hood whose cover will extend at least an inch on all the four sides and check the space in your kitchen before you actually make the purchase. There are different types of range hoods available for a different purpose so make the choice carefully.
If you are purchasing a venting range hood then make sure that there is no existing vent in the wall or the cabinet. If there is, then remove it so that you can connect your new vent to the pipe.
Tick 3: Disassemble your Range Hood
Once you have bought the right range hood for yourself, you need to remove the cover, filter, and the fan of the range hood. You will need to first remove the filter and then use a screwdriver to unscrew the bottom panel.
Then, remove the duct connector which can be found beneath the bottom panel and finally detaches the perforated duct which can be found behind the hood.
Tick 4: Turn off the Power Supply
Next thing is to ensure that the electrical switches on your old hood are off and the power supply from the main electrical panel has been switched off.
How to Prepare the Vent
Once you have everything ready for the installation of your range hood, you will need to prepare the vent which will be used in the hoods. If you are just replacing an old hood then you won’t need to do anything extra. However, if you are installing the range hood at a place for the first time then you would need to drill a spot or install ductwork for the installation of the hood.
Step 1: Mark the Spot for Vent and Drill it
First, you will need to check the instruction manual which came with your hood and then make a cut in your cabinet or wall for the vent cutout. Use the template which was included with your range hood and use a water level or laser level to make the appropriate mark.
Next, you will need to tape your template to the middle of the wall so that you can commence drilling the vent cutout. If electrical wiring needs to be drilled too then you would need to call an electrician to help you out.
You can use a wallboard saw or a drill to cut the exact template shape through the drywall. Make sure that there is no piping or studs behind this wall otherwise your task will slowly increase.
Step 2: Manage Obstacles and Install Ductwork
When you are drilling for the vent, you might come across some piping for which you would need to employ a workaround. In such a situation, you will need to cut a rectangular piece of your wall so that you have easy access. You might need to reroute or re-soldier your pipes to leave the vent cutout area free. You can also fill up this hole and then make a cutout somewhere else.
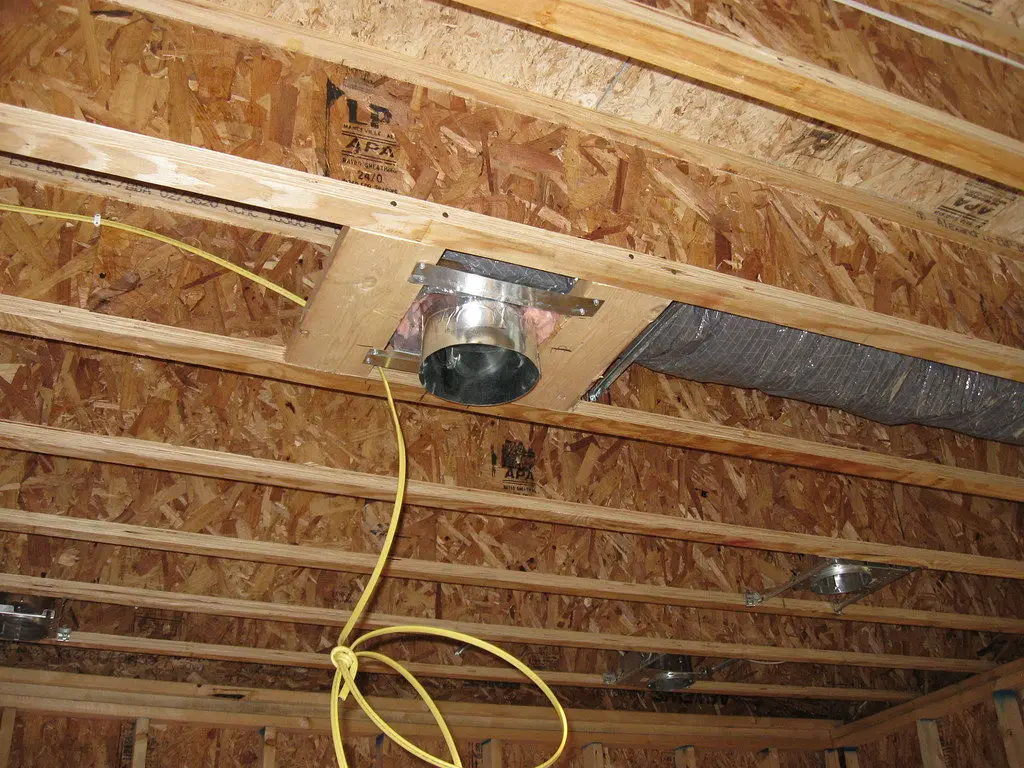
Once you have your vent cutout area, you might need to install ductwork to ensure that the smoke that travels through your vent is exuded outside of your home and not inside.
How to Install the Range Hood
Once the venting area is all ready, you can start installing your range hood.
Step 1: Mark the holes for the Hood
First, you will need to mark the spot for drilling holes which you will use for screwing nuts and connecting cables. If you received a template then you can use it to mark the position of the holes otherwise you will need to keep the hood in place and then mark the required position. This cannot be performed alone and will require the help of another person.
Step 2: Mount the Range Hood
Next, you will need to drill the screws and brackets into the cabinet or the wall. Depending on where you are likely to mount your range hood, i.e, into an existing cabinet or straight into the wall, you will have to drill in the screws.
One thing to keep in mind is that if you are planning to mount your hood to the wall with the help of brackets then you would need to drill the screw fully inside the wall. However, if you are going to mount your range hood into a cabinet then make sure you only drill the screws halfway so that the hood can be slipped easily over the drilled screws.
If your wall is tiled then you might need the help of a hammer and a nail set to make small holes in the wall. This way you can reduce the damage to your tiled walls. If the walls of your cabinet are thin then you would first need to install wooden blocks to strengthen the screws.
Once you have drilled in the screws, mount your range hood and make sure that the vent aligns the vent cutout. Align the range hood properly before tightening all the screws.
More About Range Hoods: How to Clean a Range Hood in 5 Easy Peasy Steps
Step 3: Attach the Wiring
You need to run the cable through the cable holder of the range hood inside the wall and the wires of the fan and the light have to be attached properly. Make sure that you connect the wires accurately and take the help of an electrician if you find trouble in connecting the wires.
Join the two black wires from the range hood to the one black wire inside the wall and repeat this with the white wires as well. Then, attach the green grounding wire to the range hood’s grounding screw and install an electric plug for your hood if required.
Step 4: Assemble the Parts Together and Test’
Once the wiring is properly connected, you need to add the filters back to the range hood and put the grease guards back into the place. Tighten the screws to re-attach the hood cover.
Then, turn on the electrical supply and check if your range hood is working as expected or not. Make sure that the vent is working properly and that the ductwork is properly installed.
How to replace your old Range Hood
Safety Tips to Keep in Mind
Before you start installing your own range hood, here are a few tips and steps that you need to execute to ensure your safety during the installation process.
- Don’t start the installation with the electrical power turned on. Switch off the power before you start the process.
- Check the wires to make sure that the electrical power is off. Also, make sure that you lock the panel box to avoid accidental turning on of the power switch.
- Make sure that you wear your dust mask and goggles when working on the installation.
- Contact a licensed electrician and an inspector before you start.
- Read the Instruction Manual of your product to understand it before the installation.