Table of Contents
- A Hot Situation Nobody Wants With Their Keurig
- Four Warning Signs That Your Keurig May Overheat
- Seven Things To Do If Your Keurig Overheated And Won’t Turn On
- The Flipside: Your Keurig Won’t Heat When Turned On
- Things To Remember
A Hot Situation Nobody Wants With Their Keurig
Occasionally, a Keurig system may not perform to our expectations. One issue some may encounter is when their Keurig overheated and won’t turn on or stay on during the brew cycle.
Many Keurig owners experienced this situation in 2014. In December of that year, Keurig Green Mountain, Inc. issued a voluntary recall of the K10 (also identified as B31) MINI Plus Brewing System machines. This recall covered units made between December 2009 and July 2014.
Of the more than six-million units sold, 90 users suffered burns. Negative reviews followed this news. Keurig addressed this situation immediately by proactively issuing the recall.
No other major recalls have occurred for Keurigs that overheated and failed to operate. However, there may be individual units that fail to pump water through the system and overheat, shutting down the machine.
What should you do if that happens to you? Read the sections below for helpful advice.
Four Warning Signs That Your Keurig May Overheat
First, The Obvious: Units Should Never Smoke
If you notice your Keurig steaming or smoking during the brewing process, something is definitely wrong. If you see smoke or smell an unusual burning odor that smells like melting plastic, unplug your Keurig immediately and keep it away from other flammable items, such as paper towels or wooden surfaces.
Some reasons for this happening could be an empty water reservoir, defective electrical components, accumulated dirt in the machine, or excessive usage.
Second, Check For The Obvious Signs
If the brewer fails to turn on without the presence of smoke or a burning smell, make sure the unit is getting reliable electric current. Try these troubleshooting suggestions:
- Make sure the unit is correctly plugged in.
- See if other appliances function properly on the same outlet.
- Check for a tripped circuit breaker.
- Try the brewer at a different outlet to see if it works.
- Check the power button to make sure it is not stuck.
Third, Check For a Clogged Water Filter
A clogged filter will reduce water flow and may cause your Keurig to overheat. Remove any debris and try to brew again.
Sometimes, this overheating may even melt the k cup, so be sure to inspect the k cup before re-brewing.
Fourth, Consider Your Water Source
Minerals and “hard” water may clog filters. Tap water may have higher calcium levels that lead to build-ups in the pump or waterline.
Another “contaminant” that may affect your water source is the presence of dried coffee grounds.
Seven Things To Do If Your Keurig Overheated And Won’t Turn On
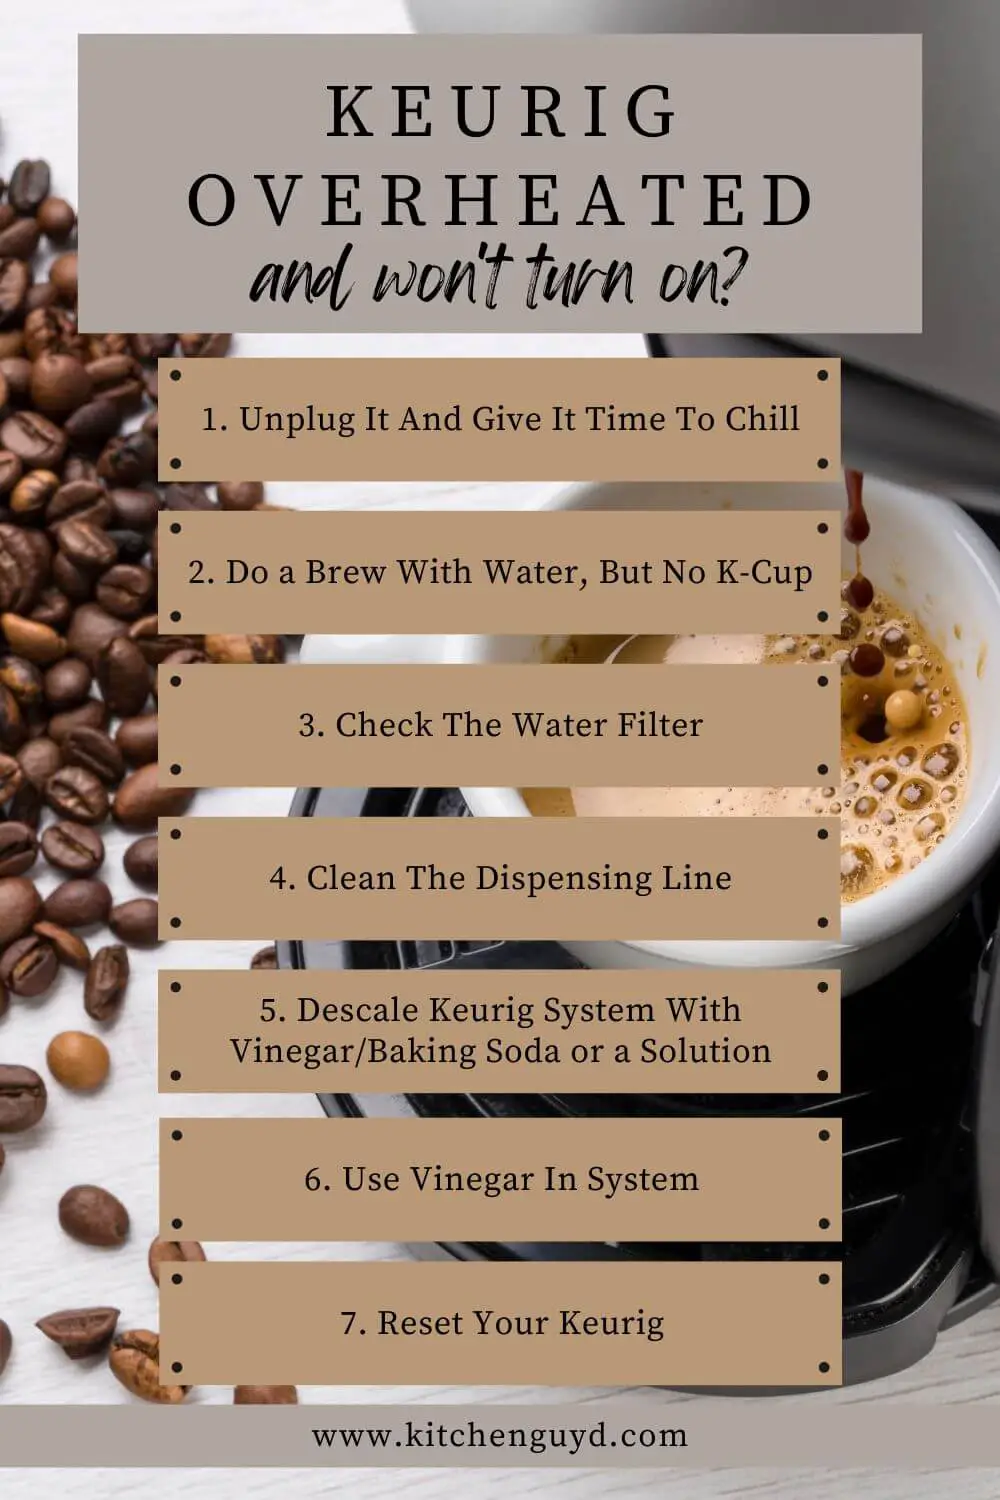
Below are seven suggested strategies you may want to consider if your Keurig has overheated:
1. Unplug It And Give It Time To Chill
Remember that if you see or smell smoke, try to unplug the unit immediately and get it away from flammable items. Grab a fire extinguisher “just in case.”
If there is no evidence of smoke or damage to the unit’s components, unplug your Keurig and let it cool down. On rare occasions, a unit can experience “thermal shock” when hot water comes into contact with something colder inside the machine.
2. Do a Brew With Water, But No K-Cup
After giving the unit time to chill, plug your Keurig into the outlet and run a full brew cycle, but not with any K-Cups. Running a cycle with just water may help clean the dispensing assembly and purge it of foreign items that somehow entered the Keurig.
As you run the cycle, check for leaks. If you usually select smaller cups, consider running this cycle with larger cups that will force more water through the system.
3. Check The Water Filter
Similar to the way an air filter’s condition affects the performance of an air conditioner, a clogged or damaged water filter may place stress on electric components in your Keurig. Your Keurig may overheat because of a lack of water flow through the filter.
Check the filter to ensure that it is not clogged. Clean and clear the water filter cartridge. If the cartridge is in poor condition, replace it.
4. Clean The Dispensing Line
You may notice that your Keurig leaks water during preheating. If this happens, unplug your unit and check for any visible impediments or problems with the water reservoir connecting to the brewer.
Blow or force air into the dispensing line with a straw.
5. Descale Keurig System With Vinegar/Baking Soda or a Solution
Keurig sells bottles of Descaling Solution that can remove buildup from the system if you follow easy instructions. Some users may seek an alternative method since this solution is expensive. One effective and food-safe alternative found in many kitchens is vinegar.
Vinegar works great as long as you don’t have a sealed brewer, since it may get into the interior plastic parts. Unplug the machine, soak removable parts in warm soapy water before applying vinegar and gently scrubbing with baking soda and hot water. Rinse, dry, and reassemble the components.
6. Use Vinegar In System
Another alternative way to use vinegar instead of Descaling Solution involves using a half-cup of vinegar with one part of water in the reservoir, and running it through the system. Vinegar is a great descaling solution.
Be sure to run a cycle with water afterwards to minimize any vinegar residue.
7. Resetting Your Keurig
After trying the steps above, one last alternative involves resetting your Keurig. To reset your Keurig 1.0 brewer:
- Open and close your K-Cup’s lever as a simple reset that breaks the brewing cycle and starts it over.
- Turn off the machine, unplug it, let it rest, and try again.
- Remove and reattach the water reservoir so the machine’s sensors can detect its presence.
These steps are part of a natural resetting process that may make sense after the earlier ones.
For Keurig 2.0 machines, follow these steps:
Remove the water reservoir and unplug your Keurig. Wait at least five minutes, then reattach the plug and reservoir filled with sufficient water. Try a quick brew cycle.
If your machine includes digital displays, follow the proper steps as outlined in your user manual. If these steps do not work, consider if your machine might be suffering from a larger problem that requires attention and troubleshooting.
The Flipside: Your Keurig Won’t Heat When Turned On
Another problem some Keurig users have is that the water dispenses properly but does not reach the preferred temperature. If this happens, there are a few things that may cause this to happen:
- A malfunctioning water pump
- A heating system that fails due to problems with the water pump
- Calcium, mineral, or coffee ground buildup affecting the heating unit
- Other clogging or water flow issues that occur
You will notice that the circumstances that often cause a Keurig coffee maker to not heat up are similar to the ones that lead to a unit overheating.
Things To Remember
Regular maintenance prolongs the life of your Keurig. A Keurig coffee system, vacuum cleaner, water filter in a pitcher, or any other system that involves filtration requires that users occasionally check to make sure that the flow is not impeded.
A little maintenance now will help keep your Keurig in top shape into the future. Cleaning and descaling also allow your machine to brew cups with consistent flavors that you expect.
If your Keurig overheated and won’t turn on while under warranty, contact customer service. You should also keep your receipt and register your brewer with Keurig so you can receive any updates or information from the company that may be helpful.