
So How Do You Clean a Keurig Coffee Machine?
Ah yes, there’s really nothing like a fresh cup of coffee to start your day. Especially when that coffee is brewed to order, right in your own kitchen!
A new staple of the kitchen, Keurig machines have found a prominent spot atop kitchen counters everywhere. But have you ever stopped to think about how to clean a Keurig coffee maker? Do you even need to clean your Keurig?
Unfortunately, while your machine might look clean, dangerous bacteria may already be lurking inside your coffee maker. I know, it’s gross. But don’t worry! We’ve got you covered.
What Products You’ll Need:
- Keurig Descaling Solution or White Vinegar
- Keurig 2.0 Needle Cleaning Tool
- Water Filter Refill Cartridges
- Microfiber Cloths
- Dishwashing Soap
How To Descale A Keurig Using Pre-Made Solution: Step-by-Step Instructions
If you’re looking for techniques to clean your Keurig machine, you’re in the right place. In order to clean your coffee maker, you need to do what’s called ‘descaling’. The bacteria and build-up called scale inside your machine is caused by water running through the pipes. This leaves calcium deposits from your hard water source.
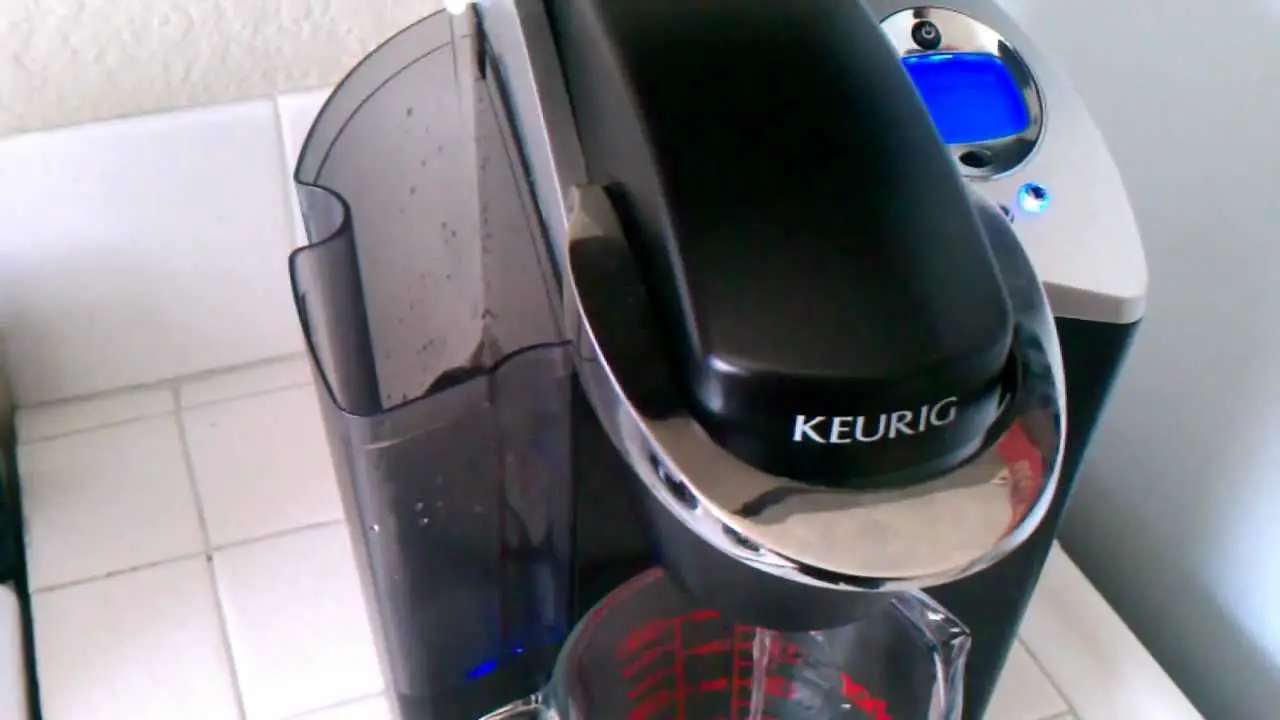
Step 1: Safely Prepare The Machine
To kick off the descaling process, unplug your Keurig and make sure it’s completely empty. Next, you’ll want to remove the water filter and detach the water reservoir from the side. Make sure there are no K-Cups, K-Cup filters, pod holders or anything else inside the machine.
Step 2: Choose Your Solution Method
Now you’ll need to decide which route you’re going to take: a pre-made solution or DIY white vinegar. They both contain citric acid which is enough to remove the calcium build-up and bacteria, so either option will work.
Keurig Descaling Solution: If you plan ahead, you can purchase Keurig’s pre-made solution directly from the manufacturer to address scale build-up. This solution is 1 bottle per cleaning session and is specifically formulated to get the job done. You can buy one here.
However, some reviewers of the product have mentioned that it can leave a citrus odor and/or citrus taste to your coffee. To avoid this, make sure you run the machine a few times with just water after you’ve finished cleaning.
White Vinegar and Water: If you prefer to go the cheaper way try the DIY route, choose white vinegar. You’ll need to fill the reservoir with half and half pure vinegar and water. (So keep in mind you’d need a significant amount of vinegar!). You will also need to let it sit for several hours while it’s doing its job.
Also, it should go without saying that this way will produce a very strong smell and lingering taste. Again, be sure to run the machine a few times with just water before making your first post-clean coffee.
What’s the best method for cleaning your machine? Either way works well, but I prefer the smell of citrus vs. vinegar.
Step 3: Run The Solution Through The Machine
With that done, put the full water reservoir back onto the Keurig, plug in the machine and start it up. Grab a coffee mug and place it under the spout. Now, lift the top but do not put a K-Cup or K-Cup holder inside.
Close it and press the brew button to start the brewing process. Once it’s done, empty the cup and place it back under the spout. Repeat filling and emptying the cup until the entire water reservoir is empty.
Step 4: Allow to Soak
Even though the reservoir is now empty, there will still be some residual liquid inside the pipes. Let it sit for 30 minutes to give the solution extra time to work on trouble spots.
Step 5: Rinse Thoroughly With Water
Detach the reservoir and rinse it out with fresh water. Fill it again, but this time with just freshwater. Place it back onto the machine and run the brew cycle until the entire reservoir is empty. Again, do not use a K-Cup or a K-Cup holder, just water.
Keurig’s best practices suggest a minimum of 12 ‘cleansing brews’ before making your next cup of coffee.
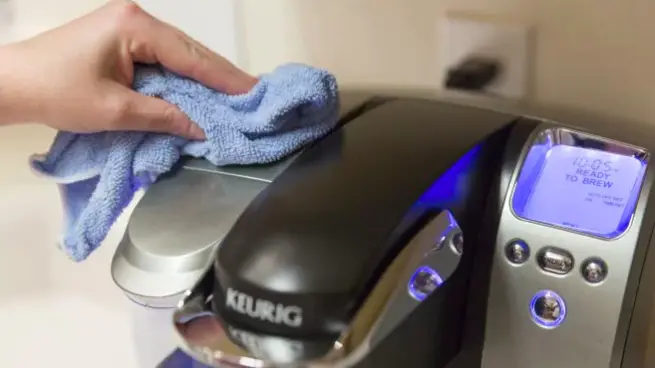
Step 6: Wipe Down the Outside With A Cloth
Once everything is back in place and the inside of the machine is clean, don’t neglect the outside! We recommend wiping down the entire outside of the coffee maker using soapy water and a microfiber cloth.
How to Clean a Clogged Keurig
Unclogging your appliance is an important part of how to clean a Keurig coffee machine. Luckily it’s an easy overnight process using standard household products.
- Fill the water reservoir with half water and half bottle of pure white vinegar. You do not need to fill the reservoir completely, just about halfway.
- Remove any K-Cups, K-Cup filters, pod holders or other removable parts. Press the brew button and place a mug under the spout. Let it start the process, but as the first few drops hit the mug, switch off the machine.
- Leave the solution in the pipes overnight.
- The next morning, turn the Keurig on and it should finish its brew cycle. If not, just simply start the brew again, this time allowing it to completely fill the mug.
- Repeat this process until all of the remaining vinegar/water mixture has gone through the machine.
- Remove the reservoir and wash it with soap and water. Fill it up to the max fill line with water. Run the brewing cycle a few more times with just fresh water to remove the vinegar taste completely.
Keurig 2.0 – Needle Maintenance
So you’ve had your Keurig for a while and you’re thoroughly enjoying the simplicity of a consistent daily brew. Coffee is life, and life is great.
But then one day, you notice coffee grounds floating in your coffee. Or maybe you start to wonder “am I crazy, didn’t this use to come up higher in my mug?”.
If you’re seeing coffee grounds, partial brews or the dreaded “water under pressure” message, it’s time to clean your coffee maker needle.
How To Clean a Keurig Needle
Keurig Needle Cleaning Tool: Cleaning the Keurig needle is an essential part of your regular coffee machine maintenance. If left untreated, an unclean needle can lead to your Keurig machine needing major repairs down the line.
Luckily, they’ve designed an accessory cleaning tool to make this job easier. This Keurig needle cleaning tool is extremely easy to use. It’s also paired with step-by-step instructions and videos to complete the process.
How To Clean Keurig Needles Without Tools: If you don’t have the Keurig needle cleaning tool yet, don’t worry! There are a few DIY options that use products you likely have at home, such as a paperclip.
Unbend the paperclip until it’s in an “L” shape. Holding one end of the paper clip like a handle, insert the other end into the holes near the needle. Do this a couple of times each. This should be enough to dislodge any debris.
No paperclip? You could also use a skewer, toothpick or any other similarly shaped item.
FAQ
How often should a Keurig coffee maker be cleaned?
The outside is easy to keep clean and should be done weekly as part of your regular kitchen cleaning routine. The drip tray should be emptied and cleaned as often as needed. For a full descale, Keurig suggests you complete one every 3-6 months. Filter replacement will depend on use, but should be done approximately every 2 months.
How do I clean the bacteria outside of the machine?
To safely clean your Keurig the right way, start by turning off your machine and unplugging it from the wall. Using soap and a wet microfiber cloth, wipe down the outside of the Keurig. Slide-out the drip tray and wash that separately in the sink with soap and water. Do not submerge the unit directly into the water as electric shock can occur.
How do you clean a reusable Keurig filter?
Place an empty filter holder into a bowl with 2 parts water and 1 part pure white vinegar. Allow the filter holder to soak for 30 minutes. Next, rinse the filter under the tap and allow to air try.
Any other tips for cleaning the individual pieces?
Start by turning off your coffee machine and unplugging it from the wall. Disassemble all of the removable parts such as the coffee pod K-Cup holder, funnel and water reservoir. Clean with soapy water and place back into the machine while still wet. Drying them could leave lint that will clog up the machine.