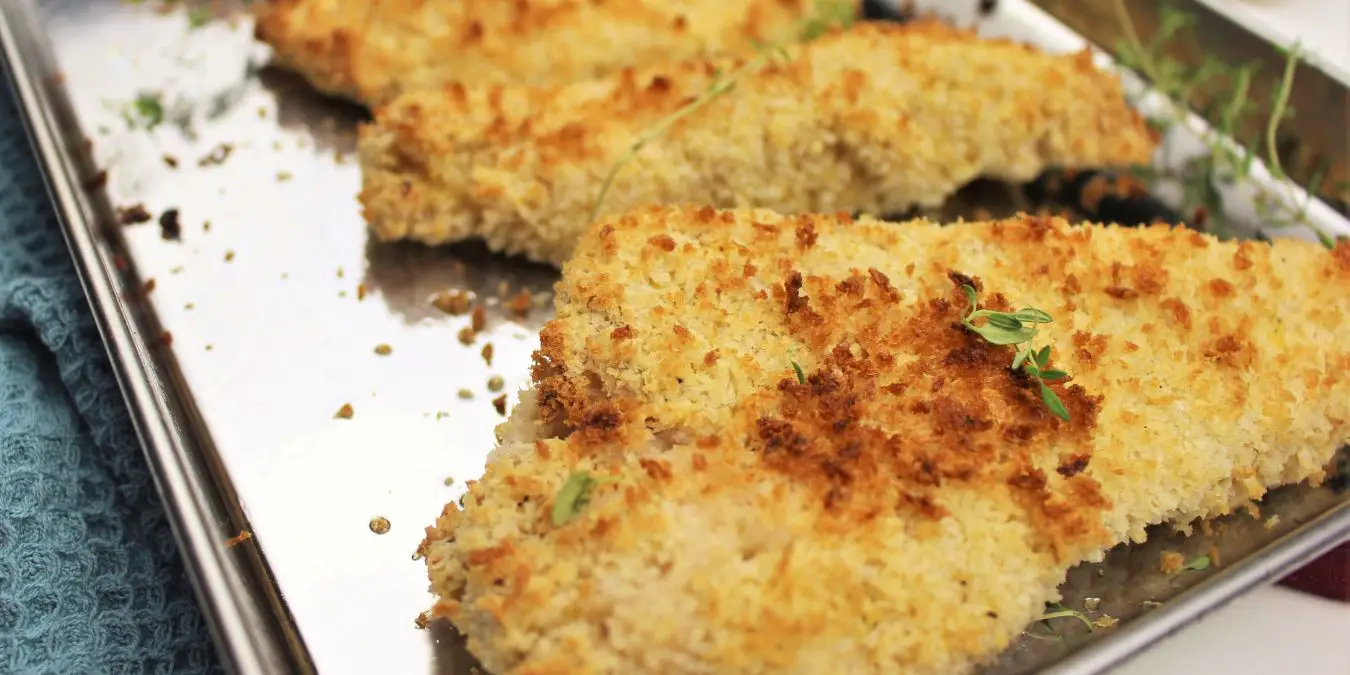
Ever since we discovered my son had several food allergies (including an egg allergy), my wife and I have been on a new culinary journey. Although it’s been fairly easy to find egg substitutes for most recipes, getting a breaded chicken recipe just right has taken some time. And with this egg-free breaded chicken recipe, you’ll get tender chicken on the outside with a nice crispy breading on the outside. And bonus, it’s also dairy free!
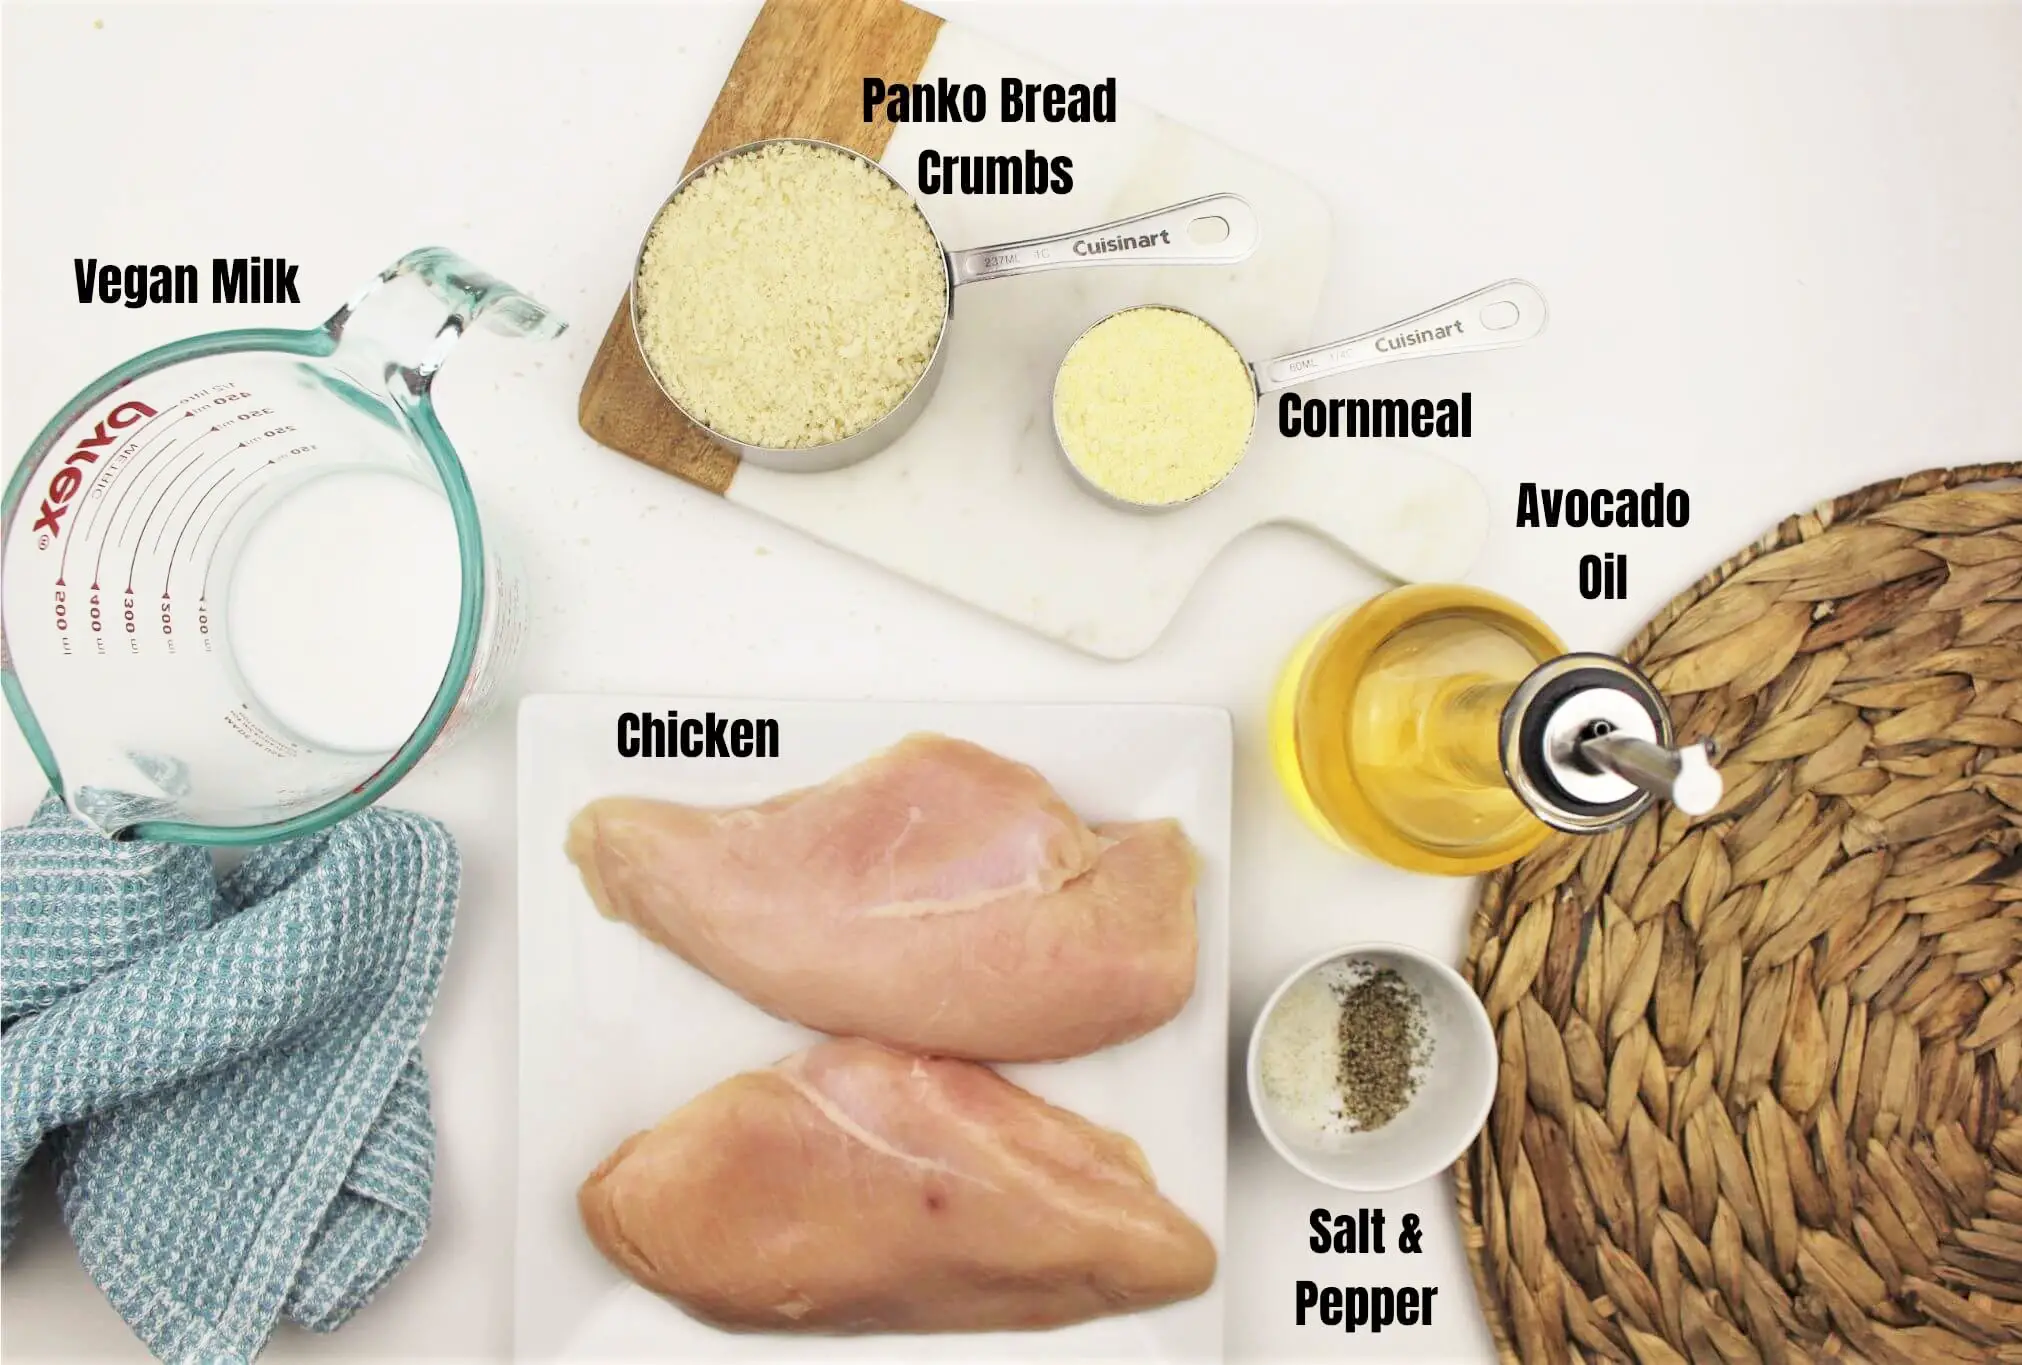
The best thing about it? It is quick to make and takes minimal ingredients. All that is needed is to create a simple slurry of vegan milk (I prefer coconut milk), cornmeal, salt and pepper. Dredge the chicken in the slurry and coat it in panko. There are a few additional steps you’ll want to take, which are outlined below. But trust me when I say, this will become your go-to crispy chicken recipe.
Getting Crispy Breaded Chicken Without Eggs
Have you ever tried breading chicken and had the breading not stick? Or how about when the breading on the outside is soggy? No one wants that!
So what is the secret to getting that nice crispy outside and juicy chicken inside? Well a couple of steps in this recipe help achieve that goal.
Tenderize The Chicken!

First, don’t overlook the importance of tenderizing the chicken breasts. Using a meat mallet, aim to get all pieces of meat hammered down to equal thickness. I like to place the chicken breasts in a gallon size bag. Then using the smooth side of the meat tenderizer, begin gently striking the chicken, focusing on the parts that are thicker. I’ve found the best thickness for this recipe is about 1/2 to 3/4 inch thickness.
By tenderizing the meat you get a couple of benefits. The meat will cook at a consistent temperature for starters. This is important if you don’t want to have to babysit the food in the oven. You’ll know if you check the temperature on a couple pieces of meat that the rest will be similar temperature once cooked.
Tenderizing also gives chicken a much more satisfying texture. By using the mallet, you are relaxing the fibers and making it more tender. An added bonus is that tenderizing seems to make meat retain more moisture during the cooking process.
Cornmeal and Coconut Milk Batter Keep It Together
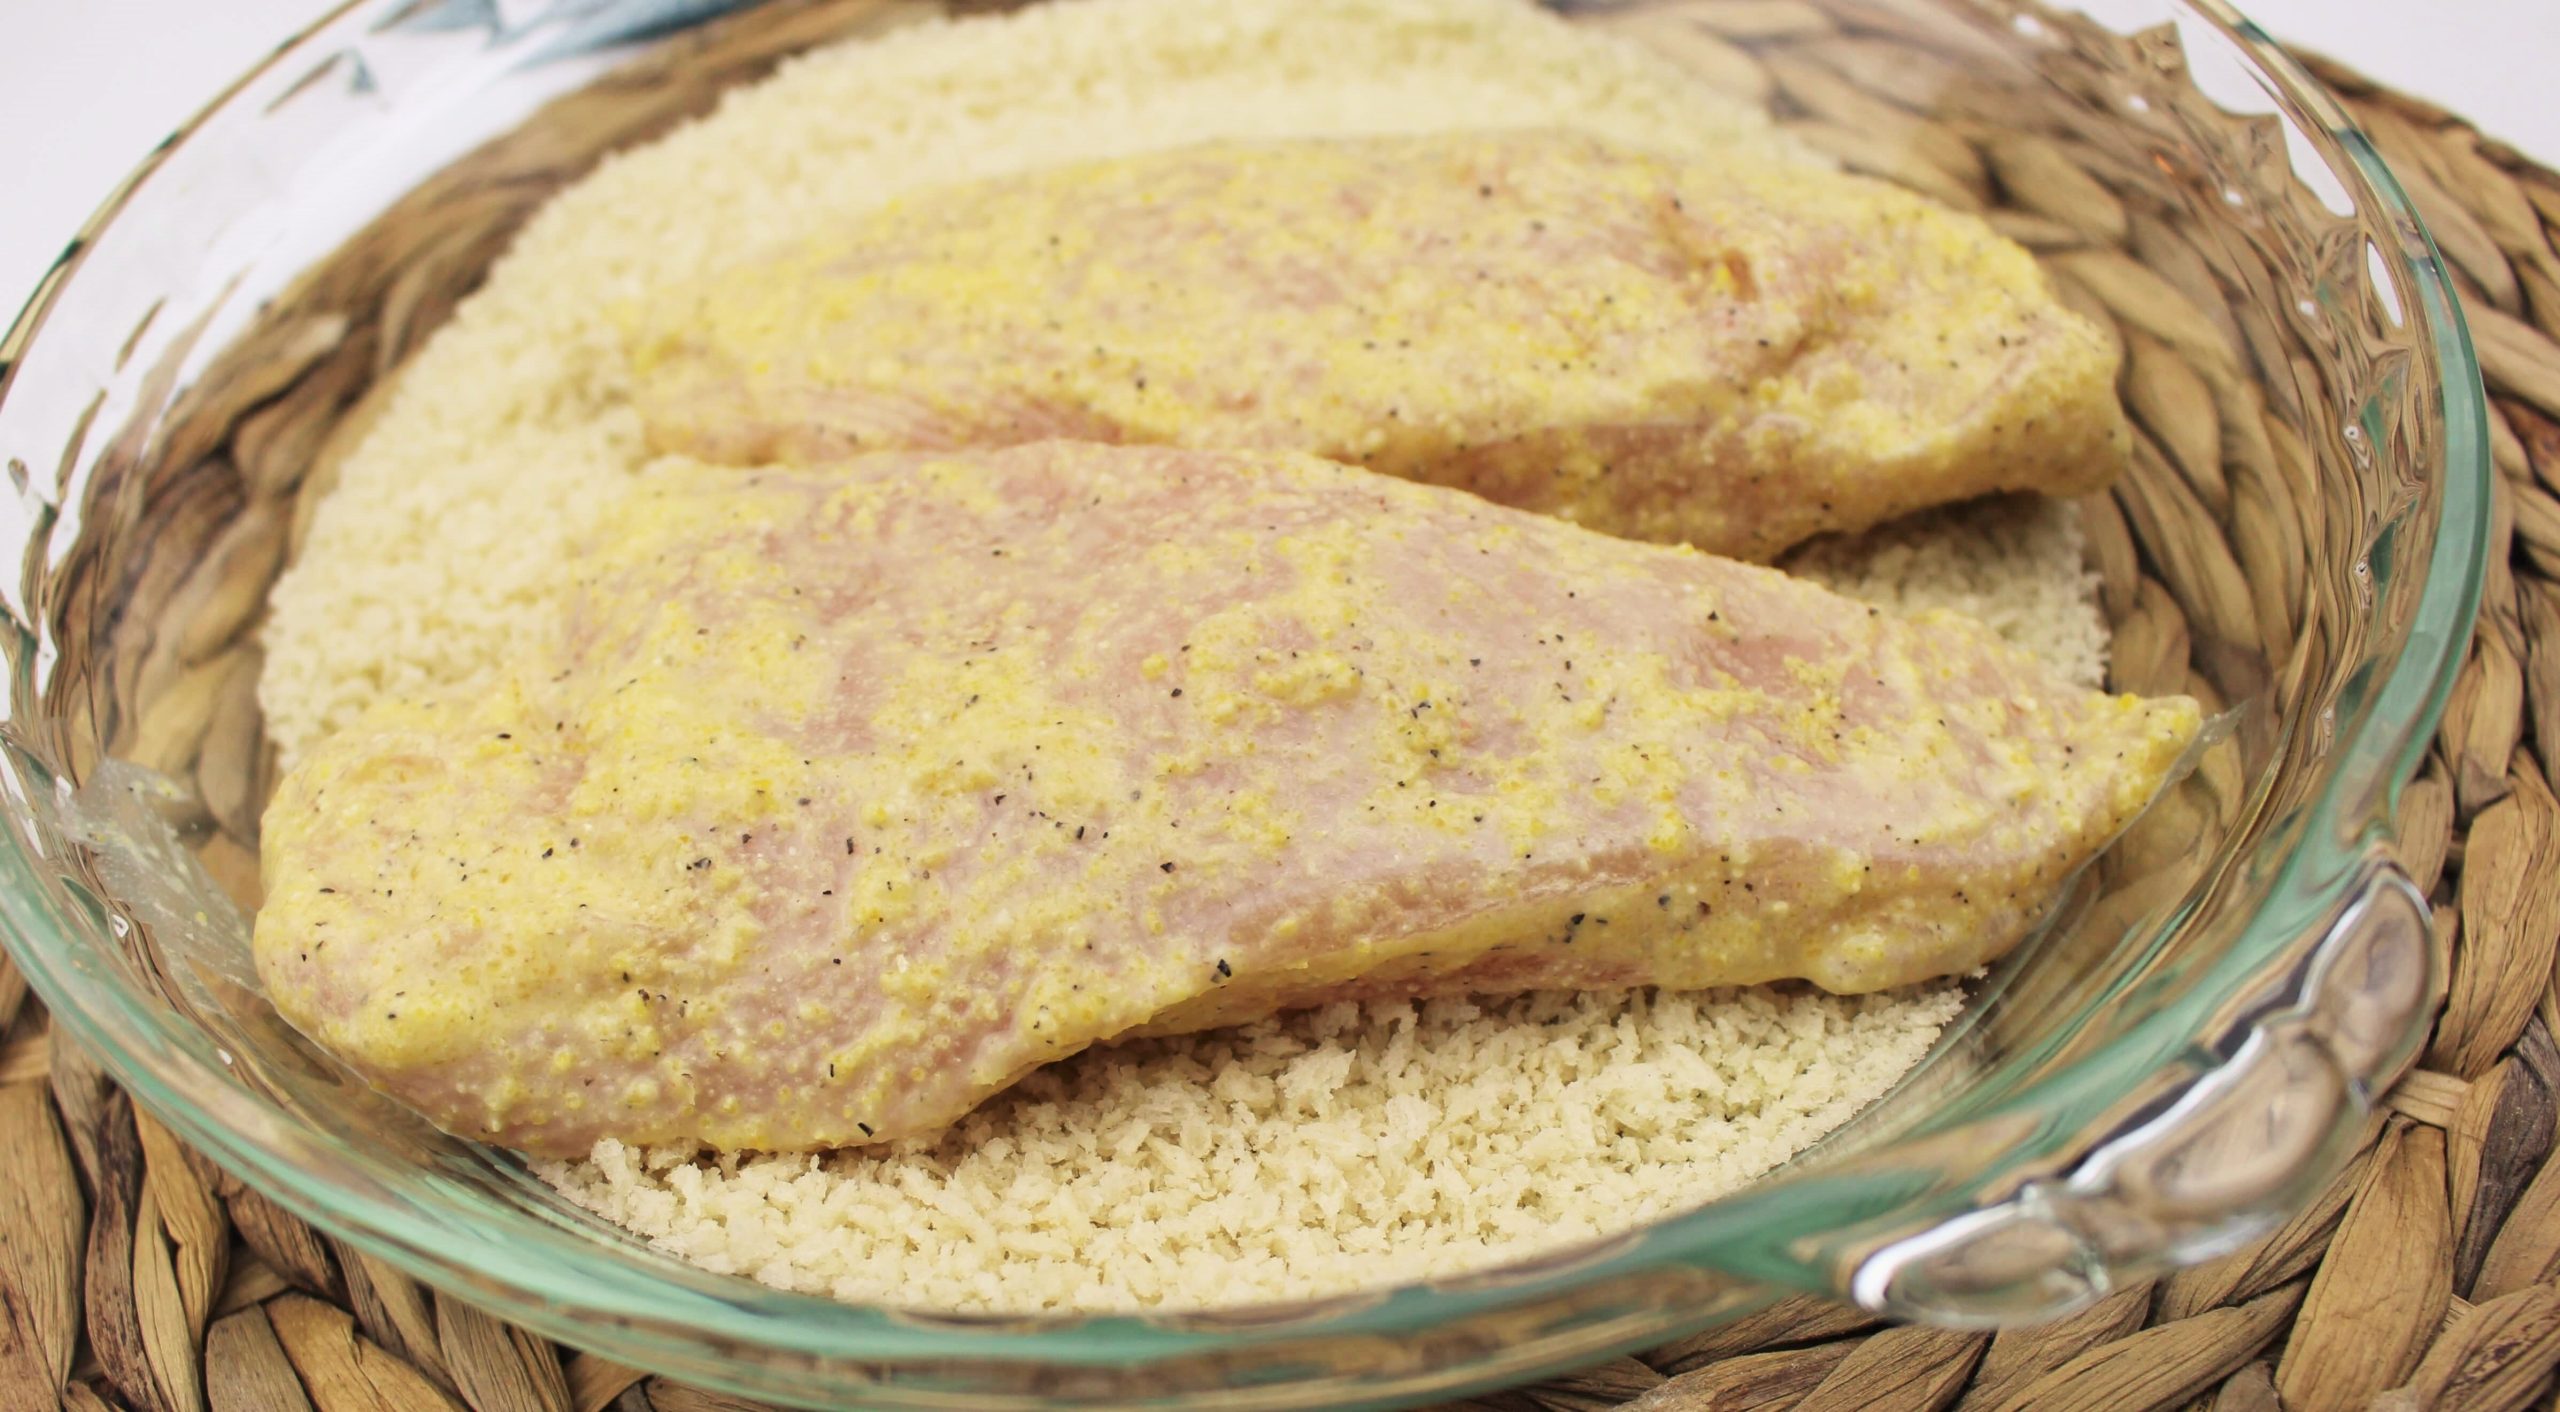
Once I’ve tenderized the meat in the gallon bag, I like to add batter directly to the bag of chicken to reduce extra dishes and keep things simple.

For those of you who have made breaded chicken in a more traditional way, you would normally place the cuts of chicken in egg or buttermilk prior to breading. This provides a way for the breadcrumbs to stick to the chicken. In this recipe, using cornmeal coconut milk (or any milk of your choice) along with a small amount of oil is the absolute perfect solution to getting breadcrumbs to stick.
The mixture creates a slurry of sorts that really bonds well with the chicken and breadcrumbs. You can think of it as the “glue” that keeps this recipe together. An added benefit of using cornmeal in the recipe is that it provides an extra bit of crunch to the chicken on the outside. Though subtle, it is worth mentioning.
Choose The Right Breadcrumbs
You might be tempted use your typical bread crumbs, it’s important to use panko in this recipe. The lighter texture of panko is what helps set it apart and helps this recipe have the crunchy crust that you love.
For those of you who are gluten-free, check out options for gluten-free panko. You’ll get similar results using this variety.
What if the panko bread crumbs have pieces that are too large? No problem, just pulse them in a food processor before you use them in the recipe. This will break up the larger pieces without affecting the recipe in any dramatic way.
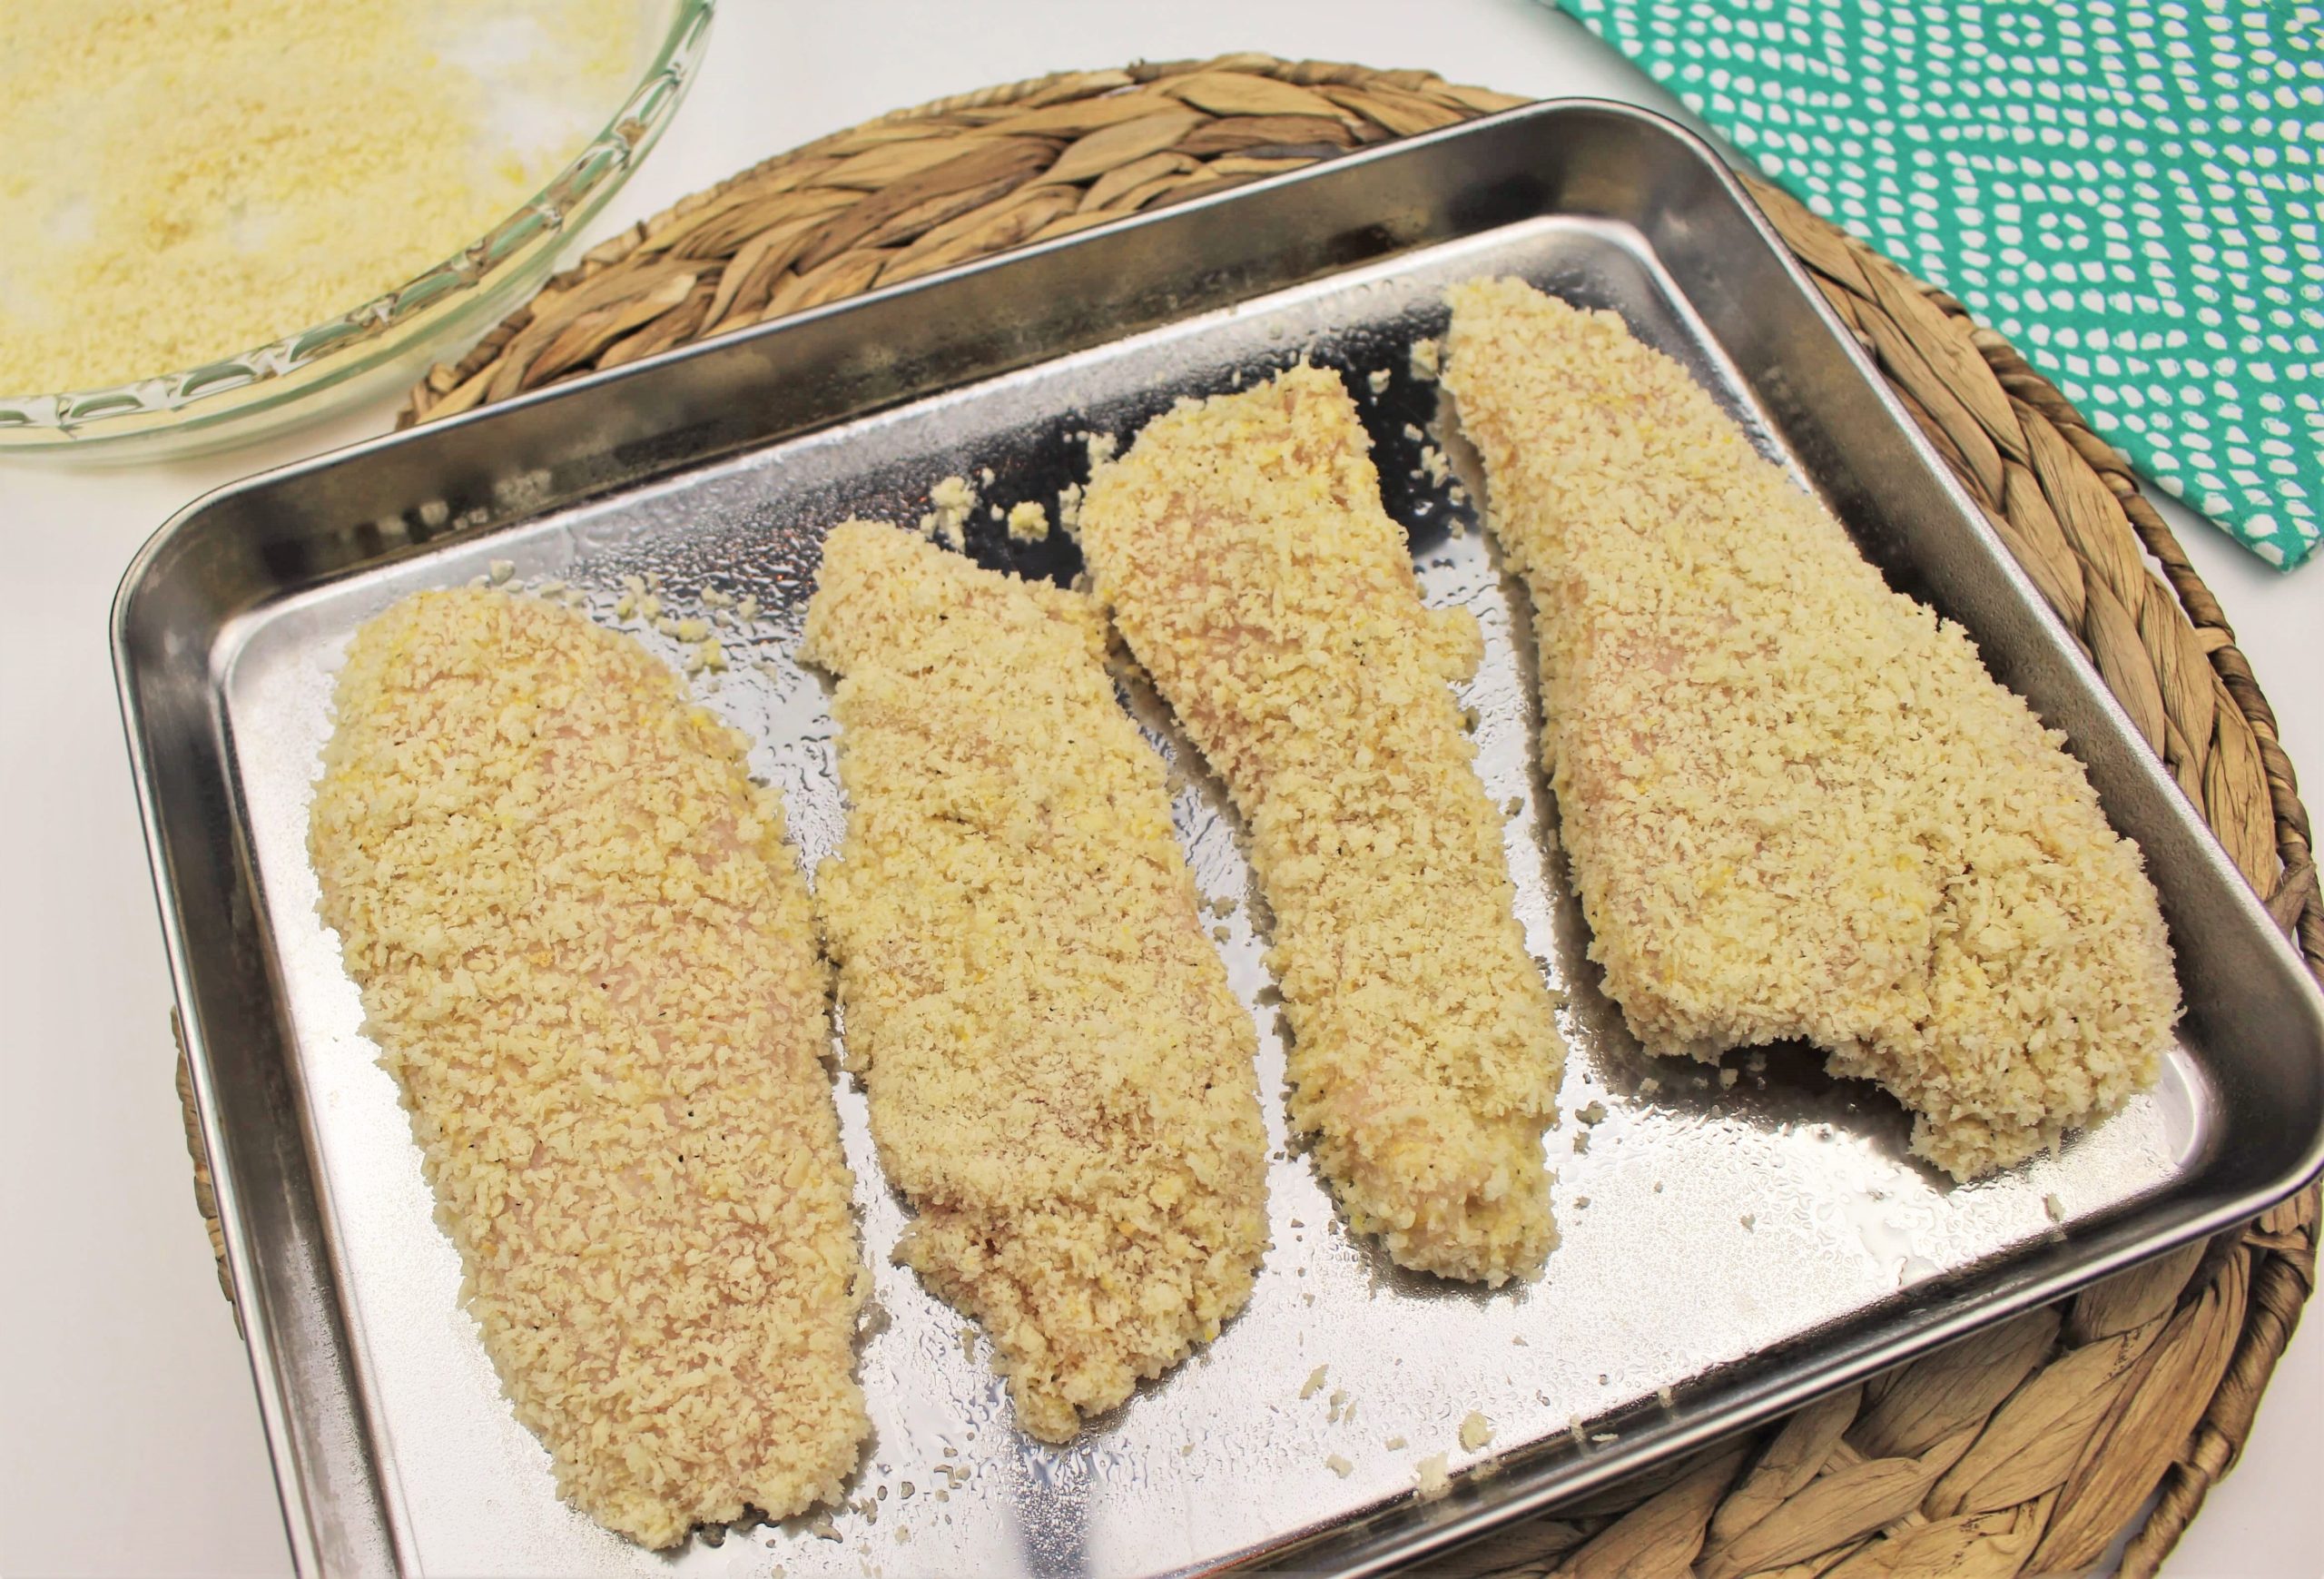
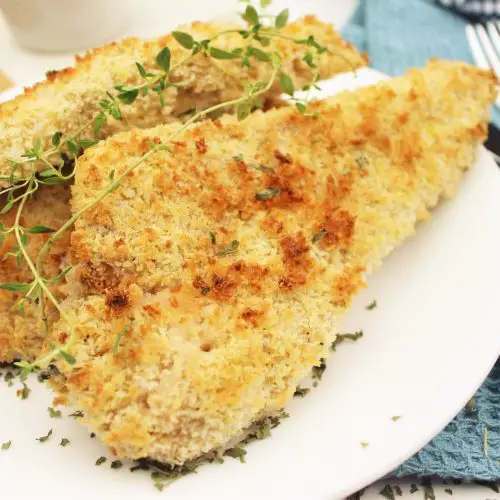
But as you can see below, even without blending the panko, the texture is amazing. Here are the chicken breasts ready to go into the oven.
Want Extra Crispy Chicken Nuggets?
I love a good crisp on chicken nuggets. It can sometimes be tricky to accomplish with the baked version. But with this recipe and a couple extra steps, you’ll get the browned, crunchy goodness you are looking for.
Here’s what you should do. Before you place the prepared, raw chicken breasts into the oven, give them one more light spray of avocado oil or cooking oil of your choice. Then place them in the oven as usual.
Then during the last 2-3 minutes of baking, move the oven rack to the highest position and turn on the broiler to the high setting. Watch carefully, as you don’t want them to burn. Just aim to get a light golden brown color on the breadcrumbs.

Can This Recipe Be Used To Make Chicken Tenders or Chicken Nuggets?
Absolutely! However you may need to modify a couple of the steps. Here is what I like to do. First, after tenderizing the chicken in the gallon bag, remove the chicken breasts onto a cutting board. Cut into pieces about 1.5 to 2 inch wide pieces. Also, you’ll want to keep the length between 2 to 5 inches. Then, transfer back to the bag and add the cornmeal/milk batter, mixing it around in the bag. Finally, coat them in the panko bread crumbs and place in oven until done.
As mentioned in the instructions below, be sure that the internal temperature of a few of the thickest pieces is at least 165 degrees. But don’t overcook for too long, or they will become tough.
Looking for something easy to make to accompany this chicken dish? Try our quick and easy roasted potato recipe.
30 Minute Egg-Free Dairy-Free Breaded Chicken Breasts
Equipment
- 1 Meat Tenderizer
- 1 1 gallon plastic (ziploc) bag
Ingredients
- 3 Chicken Breasts 1 to 1½ lbs
- 1 Cup Panko Bread Crumbs
- ¼ Cup Cornmeal
- ¼ Cup Coconut Milk
- 1 tsp Avocado Oil evoo will work too
- Salt 1 tsp or to taste
- Pepper 1/2 tsp or to taste
Instructions
- Preheat oven to 425 degrees.
- Prep a baking sheet by spraying with thin layer of avocado oil or other cooking oil.
- Take your chicken breasts and trim off excess fat or skin.
- Place chicken breasts in a plastic zip top bag. Press out air and close the bag
- Use a meat tenderizer mallet and proceed to flatten out the chicken. The goal is to make each breast the same thickness so it is tender and cooks evenly.
- Cut tenderized chicken to desired serving sizes.
- Mix together cornmeal, coconut milk and oil in a small bowl. Pour into the bag holding the chicken breasts and thoroughly coat the chicken. Add a pinch of salt and pepper into the mixture for flavor.
- Meanwhile, pour the bread crumbs into a wide bowl, such as a pie plate.
- Take each piece of chicken and coat the entire piece with the bread crumbs. Place each one on the prepared baking sheet.
- Place the baking sheet with the chicken in the oven.
- Set a timer for 18 minutes.
- At 18 minutes, check the internal temperature of the chicken to ensure temperature is up to 165 degrees. Remove if good temperature. If not, place back in oven and check every couple of minutes until it reaches 165.