
Tired of all the mess and the clutter in your kitchen? Want to get it cleaned and organized but don’t know how to start? Here’s are 10 easy steps.
We all know that cleaning the rest of the house is much easier and simpler to clean than the kitchen which is why we end up procrastinating it every time. However, no matter how much you pretend that your kitchen is fine and doesn’t need any cleanup, deep inside you know that’s not the truth. Those cluttered cabinets and cupboards keep on haunting you day after day.
No one wants a disorganized or dirty kitchen but a lot of times you are in too much of a hurry to pay attention to it. You quickly put the groceries in your kitchen without getting rid of the old expired ingredients and in a hurry to put away the dishes, you often don’t spend enough time in the kitchen to put your things away properly and in place. As a result, you are left with a mess.
However, you can change this and can finally clean your kitchen from the inside out if only you have enough time on your hand. Yes, it sounds scary but with a proper plan, it is totally doable.
Preparation for Cleaning
Before you start the cleaning process, it is important that you gather all the cleaning supplies with you like a dishcloth, sponge, a pair of rubber gloves, etc. Apart from these supplies you also need different cleaning products to address different parts of your kitchen. For a deep cleaning of your kitchen, you will need the following products:
- Disinfectant spray or Surface cleaner
- Oven Cleaner
- Floor Cleaning Solution
- Anti-Bacterial Cleaning Product for Fridge
- Limescale Remover
- Wood polish or metal polish
Make sure that you wash all your dishes and pans before you start cleaning your kitchen and keep the utensils securely tucked away. You will also need a vacuum cleaner with different attachments to remove all the dust from your kitchen.
Steps to Deep Clean your Kitchen
Step 1: Start with a small surface cleanup
Start the cleanup with a short kitchen cleaning process by collecting all the mess and the clutter which is scattered around the kitchen. This means collecting any newspaper, magazines, toys, clothes, etc. that are lying in your kitchen and putting them in their original position.
Make sure that you remove anything that doesn’t belong in your kitchen to the original place before you start cleaning your kitchen. After getting rid of all the unnecessary materials from your kitchen, you need to empty your kitchen sink and counter of all the utensils and tools. So wash your kitchen dishes and utensils and keep it outside to dry while you clean the other areas of your kitchen.
Step 2: Dust down the ceiling
Once you have cleaned your kitchen of unnecessary objects, you can start by cleaning the ceiling of your kitchen. Take a vacuum cleaner and a stool to get up and clean all the dust and the cobwebs that are attached to your ceiling. Make sure that you clean all the ceiling corners before you move on to the next item.
Cleaning your ceiling will take the most of your time as you will need to be thorough but it shouldn’t take more than 20-30 minutes. Also, the use of a vacuum cleaner can really help in the hastening of the process. If you have a ceiling fan then dust and clean it with a mild solution as well.
Once you are sure that your ceiling it properly dusted and cleaned, you can move on to clean and mop your kitchen walls
Step 3: Dust the walls
We all know that kitchen walls often become the victim of food splashes and can often be covered with various food and oil stains. So this is when you finally get rid of all these food splashes and stains and make your kitchen walls look as good as new again. So use your vacuum cleaner to dust your all the kitchen walls and then mop it with a damp cloth.
If your kitchen is painted with an easy-to-clean paint then you can just take a damp sponge and wipe the area and if it is not painted with an easily cleanable paint then you might need to scrub a little to get rid of the stains and the splashes. Make sure that you take down the photographs and wall art that are hanging on the walls and clean those as well before you put them back in place. A lot of these hangings often collect dust at the back so make sure you clean that area as well.
Step 4: Wash the curtains and the carpets
Your kitchen curtain, rugs, carpets often experience a lot of dust and dirt and are not as frequently cleaned as the rest of your kitchen. This is why it is important that you take these off when deep cleaning your kitchen and then wash them in your washing machine or by hand, suggested by the manufacturer.
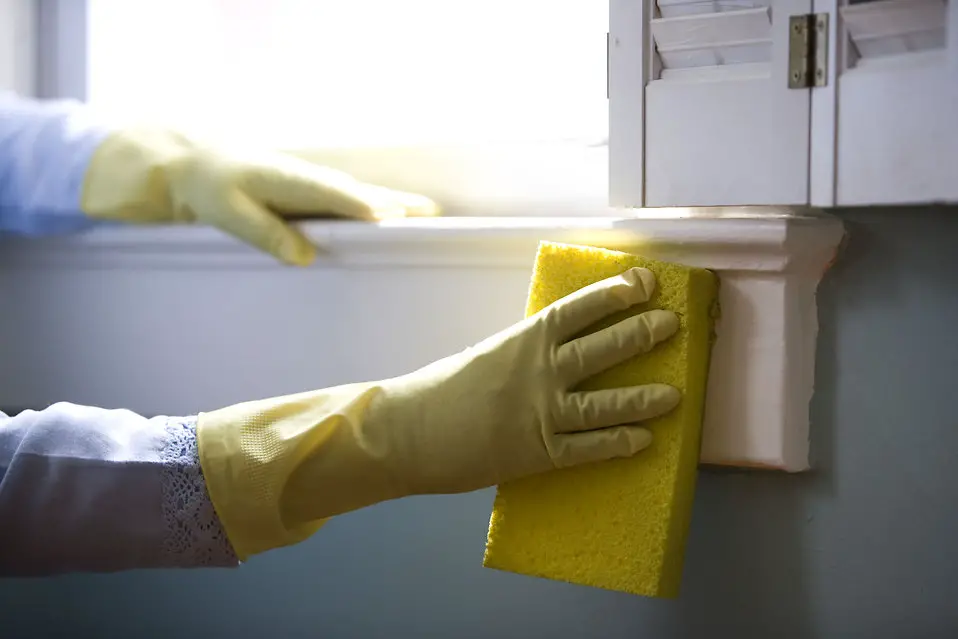
Once you remove the curtains, make sure you also clean the window sills and the curtain draperies. They often collect a lot of dust and dirt due to the open windows and needs to be cleaned with a disinfectant spray and a clean cloth. For your carpets and rugs, you can vacuum it and remove it to clean your floor or you can send them for dry cleaning, it is up to you.
Step 5: Clean the Kitchen Cupboards and Cabinets
Once you have dusted your kitchen, you need to wipe your cupboards and cabinets and organize the goods inside your pantry. Take out all the food items from your kitchen cupboards, drawers, and pantry and keep it on your table or countertop. Get rid of the items that are past the expiry date and the items which you won’t be eating anymore.
Collect all the food jars and bottles which are to be donated or thrown in the garbage in different bags and then clean your cupboard shelves with a cleaning solution. Once you have properly wiped all the shelves and the corners of your drawers and cupboards, you need to stack back the food items and cooking ingredients inside the cupboards. Make sure you arrange them in an orderly manner so that it is easy for you to identify the items.
Step 6: Clean the Kitchen Appliances
Take an oven cleaning solution and clean the inside of the oven. You can also run the oven to moisten the stuck food bits and then use a cloth to wipe away all the debris. Clean the oven cord with a cotton cloth and wipe down the oven from the top to bottom.
Clean your other kitchen appliances like toaster, blender, etc. with a cleaning solution as well. Make sure you follow the appliance manual to clean your kitchen appliances and wipe down your entire stove in the end.
You also need to clean your refrigerator of all the useless and expired items and then take out the refrigerator racks to wipe down the inside of the fridge with an anti-bacterial solution. Our refrigerator often experiences a lot of food spills which can cause the bacteria and fungi to grow in our fridge so make sure you clean it properly before putting everything back inside and in case you’re worried your fridge isn’t functioning at optimum levels do check our post on How to Repair a Refrigerator.
Step 7: Dust the Kitchen Surface
After cleaning your kitchen appliances, you need to dust and wipe down the kitchen counters, tables, cupboards from the outside. Scrub down the outer surface of your kitchen with a disinfectant spray and a cloth. Make sure that you get rid of all the food stains and bits that are stuck to the surface and use the wood polish to polish your cupboards and pantry to make them look new. You can also use the metal polish to clean your handles and knobs in the kitchen and give them a fresh and new look.
Step 8: Clean the Dishwasher
Unless and until you want to spend hours trying to repair a dying dishwasher it’s important to maintain it right. First, make sure that there are no utensils or dishes lying in your dishwasher or the sink. Then you can either start the self-cleaning process of your dishwasher or you can take out the racks to clean the dishwasher manually.
You can use a mild soapy solution to clean the inside of the dishwasher and the sink and then rinse it thoroughly with cold water. Let the dishwasher racks dry before you insert them back in the dishwasher. Check out the video tutorial in case you’re having trouble.
Step 9: Clean the Kitchen Floor
Once you have cleaned everything from the top to bottom, you can now start with the kitchen floor cleaning. Use a vacuum cleaner or a sweep to pick up all the dust and the dirt from the floor and then mop the floor with the help of a bucket of mild floor cleaning solution. Mop your floor thoroughly and let it dry before you start moving around the kitchen again.
Step 10: Keep everything back
Now you can put all the dishes, utensils, food products, etc. back in place. If you have brought new groceries then you can keep them in the fridge, pantry, etc. in an organized manner. Place your utensils back on the dish rack.
Your kitchen deep cleaning is now complete. Make sure that you deep clean your kitchen every once in 1 or 2 months apart from a little regular cleanup. It is important for your hygiene to keep your kitchen clean and shining so make sure you follow the above steps to thoroughly clean your kitchen.
Tips to Remember
- Make sure that you have all the cleaning tools and supplies with you before you start deep cleaning your kitchen.
- Sort your pantry and your cabinets before you start with the cleaning and make sure that you get rid of anything that is old or expired.
- Make sure that no one enters the kitchen when you are cleaning it and avoid people from entering it after a few hours of clean up as well.
- Try to entertain yourself while cleaning so that you don’t feel drained while cleaning. You can put on music or some movie in the background to listen to.
- Take help from your friends or family members if you feel that cleaning might be a little too much for you.
- Start with one step at a time and don’t get overwhelmed with the amount of cleaning that you have to do. Trust me, it takes only 2-3 hours and once you are done with it, your kitchen will look beautiful.
- Keep a reward for yourself once the cleaning is done so that you keep motivated to finish the cleaning task.